


Want to upgrade your space? DIY shelf brackets are the answer! In this guide, we’ll share seven simple tips to help you easily install them, transforming your space into a functional and stylish sanctuary.
Why Do You Need DIY Shelf Brackets
Before delving into the tips, let’s address why these brackets are game-changers. Traditional shelving units can be bulky and limit your creative freedom. DIY shelf brackets offer a customizable solution, allowing you to tailor your shelves to the specific dimensions of your space. This maximizes functionality and opens the door to unique design possibilities. Whether you’re a seasoned DIY enthusiast or a novice looking to enhance your home, installing DIY brackets provides a cost-effective and personalized approach to shelving.
7 Tips for Installing DIY Shelf Brackets
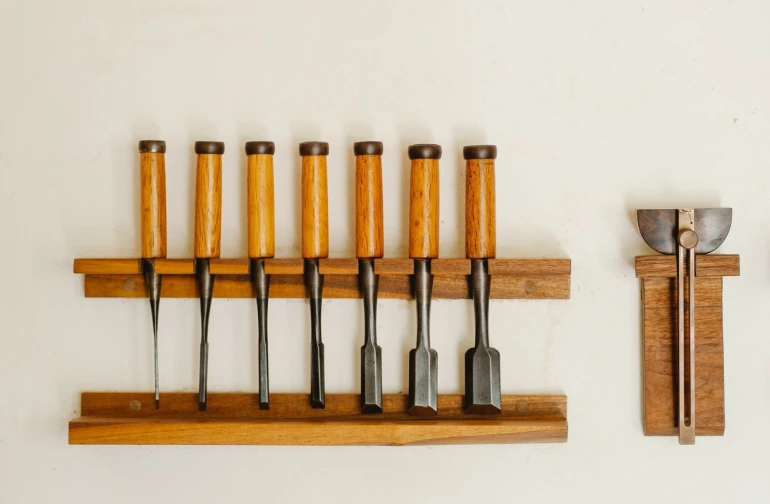
1. Choose the Right Brackets:
The first step in a successful DIY shelf bracket installation is selecting the right brackets for your project. Consider the weight-bearing capacity, material, and style. Whether you opt for classic metal brackets or prefer the rustic charm of wooden ones, ensure they align with your aesthetic and functional goals.
2. Measure Twice, Drill Once:
Precision is critical when it comes to installing DIY shelf brackets. Measure the space where your shelves will go, ensuring accuracy down to the last inch. Use a level to mark the desired position for your brackets. Once confident in your measurements, drill pilot holes to avoid any surprises during the installation.
3. Wall Material Matters:
Different wall materials require other tools and techniques. For drywall, use wall anchors to provide extra support. If you’re dealing with solid masonry walls, opt for screws designed for that purpose. Understanding your wall’s composition ensures a secure and long-lasting shelf installation.
4. Consider Weight Distribution:
DIY shelf brackets come in various sizes and weight capacities. Before loading your shelves with books or décor, consider weight distribution. Place heavier items towards the center of the shelf to prevent sagging and ensure stability. This thoughtful approach not only enhances the longevity of your shelves but also maintains their aesthetic appeal.
Read More Articles:
- Best 11 Gift Ideas for People Who Work From Home
- Vroom Vroom! Rev up Fun With These Playtime Activities for Your Car-Loving Toddler
- 8 Delicious and Healthy Cottage Cheese Snacks You Will Crave Repeatedly
- Explore 10 Fun-Filled New Year Activities For All Ages
5. Add a Decorative Touch:
These shelf brackets are not just about functionality; they’re an opportunity to showcase your style. Consider painting or staining your brackets to match your décor. Additionally, explore decorative bracket designs that complement the overall theme of your space. Turn a functional project into a visual statement that reflects your personality.
6. Experiment with Shelf Placement:
Shelf brackets offer versatility in terms of placement. Get creative with the arrangement of your shelves to add visual interest. Play with asymmetry or look staggered to break away from conventional designs. This flexibility ensures your shelves not only serve a practical purpose but also contribute to the aesthetics of your room.
7. Regular Maintenance for Longevity:
Once your DIY shelves are in place, remember regular maintenance. Periodically check the brackets for any signs of wear or stress. Tighten screws if needed, and ensure that the shelves remain level over time. This simple maintenance routine ensures that your DIY shelf continues to enhance your space for years to come.
Installing DIY shelf brackets is more than just a practical solution; it’s a creative endeavor that allows you to personalize your living space. By following these 7 tips, you’ll achieve a sturdy and functional result and infuse your home with your unique style. So, roll up your sleeves, grab your tools, and let the DIY adventure begin as you elevate your space with custom shelves that reflect your personality and meet your storage needs.